A crusher bearing replacement can be wasted effort if the reason for the original failure is left in place. Before fitting a new bearing, check the shaft seat, housing, lubrication system and surrounding components—not just the bearing itself.
This guide covers practical checks to make before and after replacement. Procedures and fit values vary by crusher and bearing arrangement, so use the equipment and bearing manufacturers’ instructions for the specific assembly. For an overview of bearing applications in harsh operating conditions, see TEDIN’s mining and construction bearing solutions.
Before You Remove the Bearing
Take a few minutes to record what happened before dismantling the assembly. Note when the problem started, whether the crusher was under normal load, and whether there had been recent work on the bearing or lubrication system. These details can help distinguish a bearing problem from an installation or operating issue.
- Record the complete bearing designation and its position in the crusher.
- Note symptoms such as rising temperature, unusual noise, vibration or lubricant leakage.
- Record recent changes to speed, feed material, throughput or maintenance.
- Check the lubrication type, supply method and service history.
If overheating was the first warning sign, see Crusher Bearing Overheating: Causes and What to Check for a focused troubleshooting guide.
Look at the Old Bearing Before Discarding It
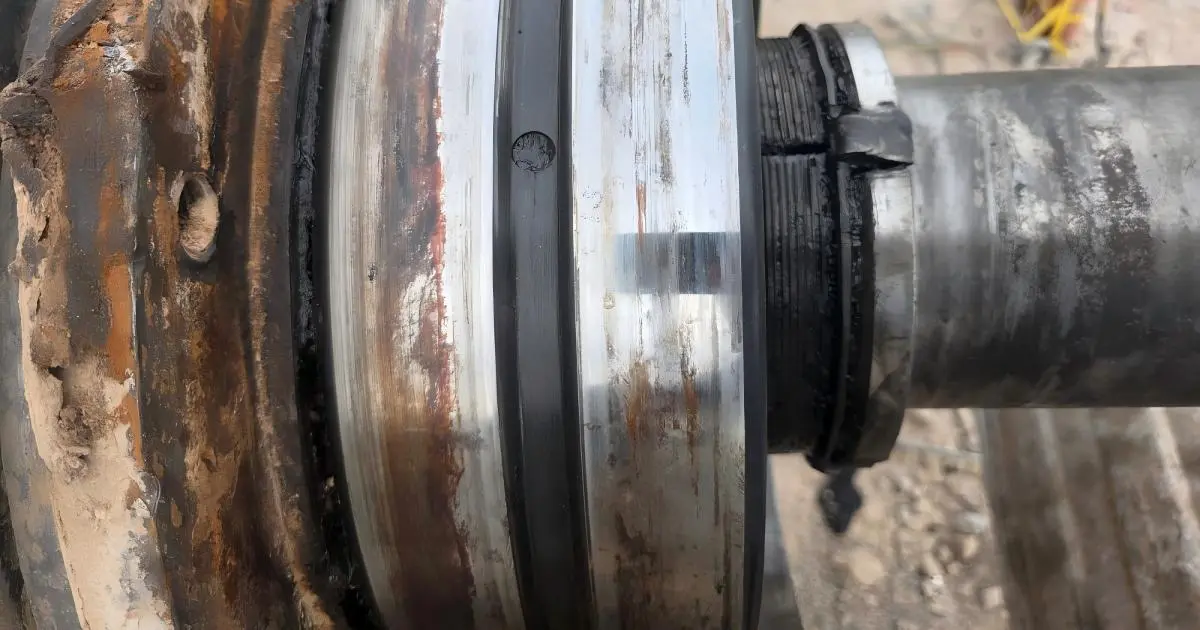
The removed bearing may offer useful clues. Before cleaning it, photograph the bearing and nearby parts, and note any visible discoloration, wear, surface damage or contamination. Check the lubricant condition too. These observations do not prove the cause on their own, but they give the maintenance team evidence to compare with operating records.
Inspect the Shaft and Housing
A replacement bearing will not correct damage to the surfaces it runs on. Once the old bearing is removed, inspect the shaft seat, housing bore, locating shoulders and other mating surfaces for scoring, fretting, corrosion, burrs or impact marks.
Clean the parts using an appropriate method and keep debris out of the bearing and lubrication passages. Check seals, oilways and grease lines while they are accessible. If a seat or locating surface looks damaged, measure and assess it against the equipment specifications before proceeding.
Also verify the required fit and alignment for the exact assembly. Do not assume the previous fit was correct simply because the machine ran that way; the old bearing may have been operating with an existing problem.
Confirm the Replacement Bearing
Before opening the package, compare the complete bearing designation with the machine records or approved parts information. A similar-looking bearing is not necessarily an interchangeable one. Confirm the required configuration and any specified internal clearance or other features for that position.
Keep the bearing clean and protected until installation. If the package is damaged or the bearing shows signs of contamination or impact, stop and resolve the issue before fitting it.
Jaw crushers and cone crushers use different arrangements and operating conditions. Select the bearing and installation procedure for the actual machine—not just the broad equipment category.
Install Without Introducing New Damage
Follow the specified procedure for the bearing type and fit. Use clean, suitable tools, and apply installation force only where the manufacturer directs. Force transmitted through rolling elements can damage a bearing before it enters service.
If the procedure calls for heating, use the approved controlled method and temperature limits. Do not use an open flame. Likewise, use the specified tightening values and sequence for the assembly; figures from a different crusher or a general guide may not apply.
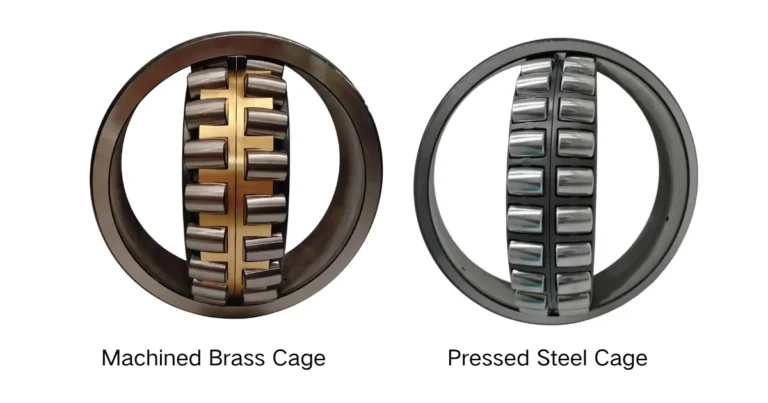
Before closing the housing, confirm that the bearing is seated as specified, the lubrication route is clear, and seals and other removed components are correctly fitted. Some crusher positions use spherical roller bearings, but the appropriate bearing type and mounting details depend on the machine design.
After Installation
Complete the checks required by the crusher manufacturer before returning the machine to service. Depending on the arrangement, these may include verifying lubrication, clearances, alignment, fasteners and free movement.
During start-up, follow the site’s commissioning procedure and monitor the machine for abnormal temperature, noise or vibration. Record the observations under the operating conditions at the time. If something is outside the machine’s specified limits, follow the site’s stop and inspection procedure rather than continuing to run the crusher.
If a replacement bearing fails again, review the original failure evidence and the condition of the shaft, housing, seals and lubrication system. Replacing the bearing a second time without checking those factors may leave the underlying cause untouched.
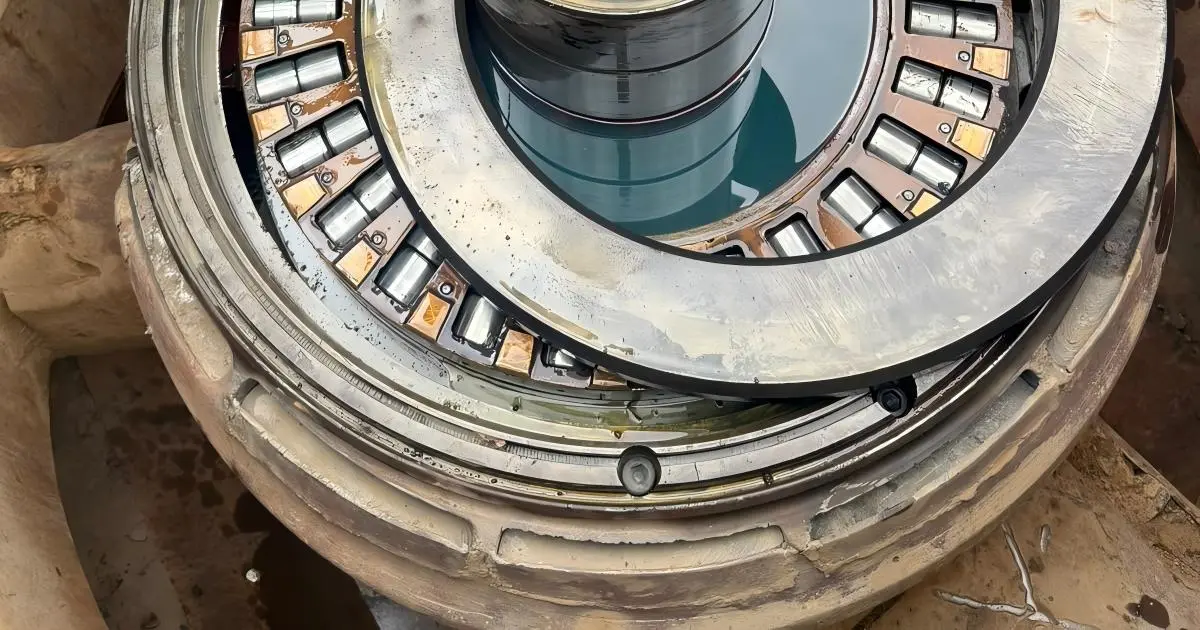
For an example of a crusher bearing service situation, see the Cedarapids RC54 cone crusher main bearing replacement case.
Quick Pre-Installation Check
- Confirm the bearing designation and installation position.
- Record the failure symptoms and recent operating or maintenance changes.
- Inspect the old bearing and lubricant before cleaning or disposal.
- Check the shaft seat, housing, locating surfaces, seals and lubrication passages.
- Verify fits and alignment against the specifications for the exact assembly.
- Keep the replacement bearing and work area clean.
- Use the approved installation, heating and tightening procedures.
- Complete the specified checks before returning the crusher to service.