Mounting a tapered-bore spherical roller bearing reduces its radial internal clearance. As the inner ring moves onto the taper, it expands. The installer must achieve the required fit without reducing clearance beyond the specified limits. Locknut tightness alone cannot confirm either condition.
This guide covers the main checks for spherical roller bearings mounted on tapered shafts, adapter sleeves or withdrawal sleeves. Clearance and drive-up limits must come from the manufacturer’s instructions for the exact bearing and mounting arrangement.
1. Check the Bearing, Sleeve and Seats
Record the complete bearing designation, including the bore and clearance suffixes. Match the bore taper to the shaft or sleeve specification; bore diameter alone is not enough.
- Tapered shaft: the bearing mounts directly onto a machined tapered seat.
- Adapter sleeve: the bearing mounts on a tapered sleeve fitted over a cylindrical shaft.
- Withdrawal sleeve: the sleeve is driven between the bearing bore and a cylindrical shaft.
Clean the mating surfaces and inspect them for burrs, scoring and corrosion. Check seat dimensions against the drawing, including roundness and taper where applicable. A worn sleeve may accept the bearing but still fail to provide proper seating.
Prepare the measuring tools, mounting equipment and locking components before starting. Follow the specified surface and thread lubrication instructions. Apply mounting force to the ring being fitted, not through the rollers. Isolate the machine and support heavy components safely.
2. Measure and Control Clearance Reduction
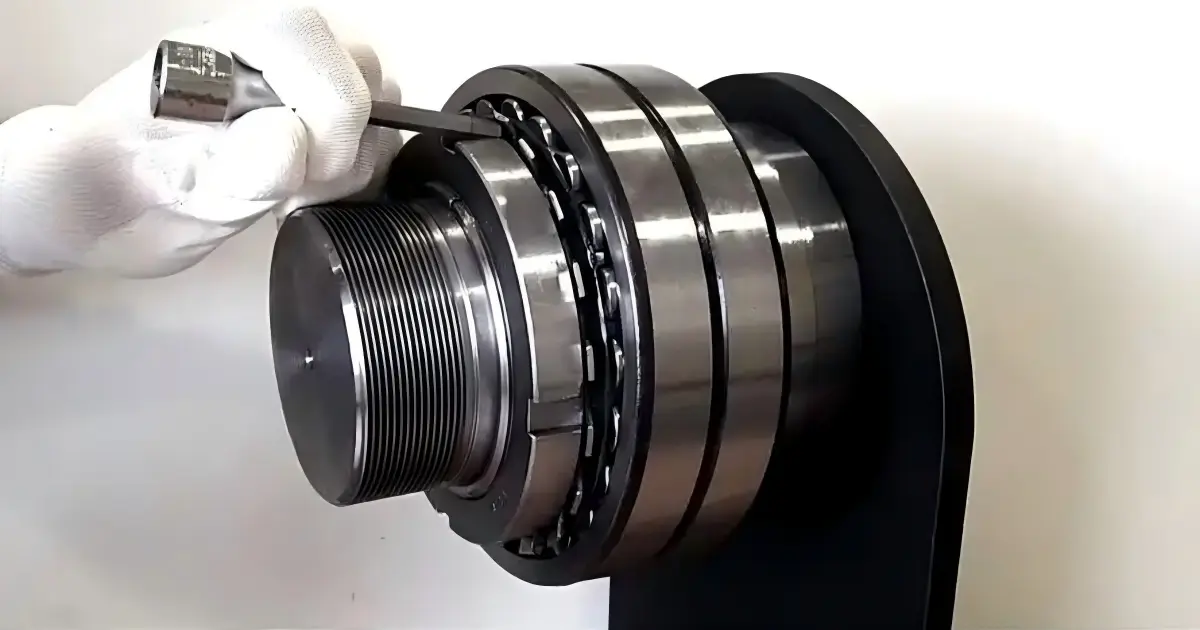
If the approved mounting method uses radial clearance reduction, measure the initial clearance before installation. Follow the instructions for bearing orientation, roller positioning and measurement location. Bearing weight and roller position can affect the reading.
Clearance reduction is the initial measured clearance minus the clearance measured after mounting. For example, the installation record should distinguish the amount removed from the amount still remaining; they are not the same measurement.
Advance the bearing or sleeve in controlled increments, checking clearance as instructed. Compare both the reduction and the remaining clearance with the applicable mounting limits.
- Too little drive-up: the inner ring may not have sufficient interference on the tapered seat.
- Too much drive-up: excessive ring expansion may leave insufficient clearance.
C3 and C4 describe initial clearance groups, not installation targets. A C4 bearing can still be mounted too tightly. The remaining clearance after mounting also differs from operating clearance, which is affected by temperatures and service conditions.
3. Use the Correct Starting Point for Axial Drive-Up
Where the approved method uses axial drive-up, measure movement from the prescribed starting position. An arbitrary hand-tight position is not a reliable reference: the bearing may already have moved different distances onto the taper.
Some hydraulic methods establish the starting position using a specified pressure, then require a measured axial displacement. Use the data for the exact bearing, taper and mounting arrangement. Do not combine starting-point instructions from one method with drive-up values from another.
Nut torque is not a substitute for clearance reduction or axial displacement unless the manufacturer provides a torque-based procedure. Friction at the threads and mating surfaces affects how tightening translates into movement.
4. Lock the Assembly and Check Its Position
Once the specified mounting condition is achieved, secure the nut and locking device. Recheck clearance and axial position where required, especially if locking could disturb the setting.
- Bearing position: confirm its location relative to shoulders, spacers and the housing.
- Locking components: check engagement and secure them as specified.
- Housing and seals: check seating, alignment and any required axial freedom.
- Lubrication: confirm the lubricant, quantity and clear supply passages.
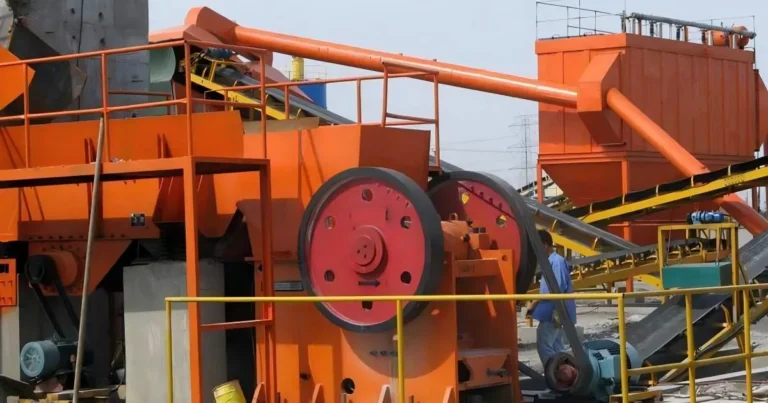
For mining equipment bearing applications, keep dust away from the open assembly and check reused seats and sleeves carefully. Do not assume that the removed bearing or its mounting position matched the equipment drawing.
On mining conveyor bearing arrangements, identify the locating and non-locating positions. Restricting movement at a position intended to accommodate shaft expansion can introduce additional loading.
Where safe and practical, rotate the assembly by hand to check for binding or seal contact. Free rotation is a useful check, but it does not verify the fit or clearance.
5. Record the Installation and Monitor the Trial Run
Keep the mounting measurements with the maintenance record. They provide a useful reference if temperature or vibration changes after replacement.
| Stage | Record or Check |
|---|---|
| Before mounting | Bearing designation, sleeve number and initial clearance where required. |
| During mounting | Approved method; clearance reduction or axial drive-up. |
| After locking | Final position, locking engagement and remaining clearance where required. |
| Trial run | Temperature trend, vibration, noise and lubricant delivery. |
Follow the equipment’s trial-run procedure and compare readings with its operating limits and previous records. A housing temperature reading alone cannot establish the bearing’s operating clearance.
If temperature rises rapidly or abnormal noise develops, follow the stop and inspection procedure. Review mounting, lubrication and seals before assuming the replacement bearing is defective.
TEDIN can review bearing and sleeve designations for replacement supply. Send your bearing model, sleeve number or assembly drawing to check the replacement specifications and available options.
The final check is measured, not felt: verify the mounting condition using the approved procedure, secure the assembly and retain the installation record.